Enable local language products
This guide explains how to enable and configure product name to display in local/regional language instead of English in the Staff App billing screen.
Prerequisites
- You are logged into the Merchant App with edit access to Settings.
- Products are already created and regional language translations are added. Refer add translations to product
Step 1: Open settings
- Go to Settings → Terminal .
- Find the Alias section.
Step 2: Enable Alias
-
Toggle Alias to ON.
-
Select your local language from the dropdown (for example, Any one of Hindi, Tamil, Telugu, Kannada, Malayalam, etc.).
-
Click Submit to activate local language support.
Step 3: Sync and test
- Refresh and Sync the Staff App .
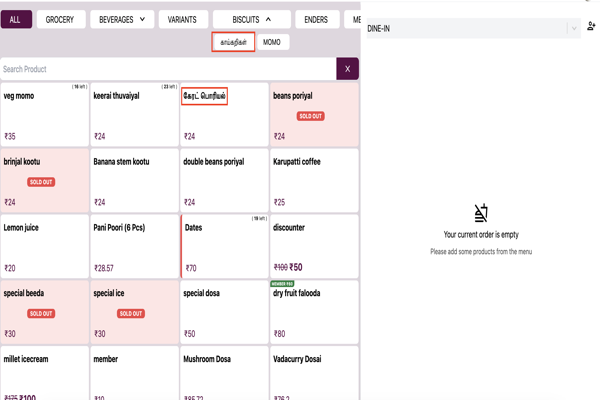
- Open the Billing screen in staff app.
- Verify that products for which alias have been added now appear in the local language.