How to Hold and Resume Bills
The Hold and Resume Bill feature in the PositEasy Staff App allows you to temporarily save a customer's current cart and serve another customer. This is useful during busy hours when a customer needs more time to decide or steps away to get another item.
Prerequisites
- There must be at least one item in the cart.
- Custom Hold name and Bulk hold clear features must be enabled in Terminal Settings (if naming or bulk clearing of hold bills is required).
Step 1: Put a Bill on Hold
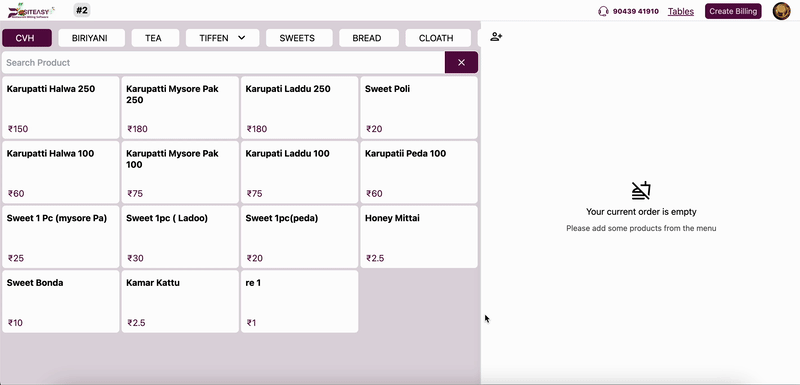
- Add Items: Add the items requested by the customer to the cart.
- Locate the Hold icon (represented by a hand icon ✋) near the cart summary.
- Tap the Hold icon.
- The bill is now saved, and the cart will be cleared so you can start a new order.
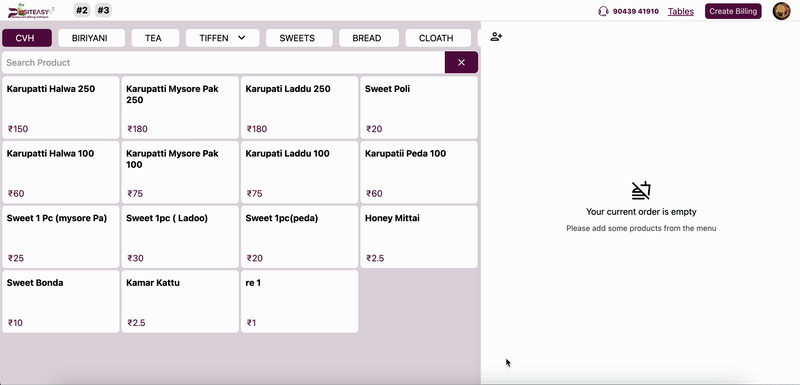
You can hold multiple bills at the same time.
Step 2: Resume a Held Bill
To bring back a bill that was previously put on hold:
- Look at the Header area of the Staff App.
- You will see the held bills displayed in one of two ways:
- Quick Access Buttons: If 5 or fewer bills are on hold, they appear as buttons showing the Hold ID (or Name) and amount.
- Holds Dropdown: If there are more than 5 bills (on Tab/Touch POS), they are grouped in a dropdown list.
- Tap on the specific bill you wish to resume.
- All items from that order will be instantly loaded back into your Cart.
- You can now add more items or proceed to checkout as usual.
Step 3: Manage Held Bills (Clear Bills)
Clear a Specific Held Bill
If a held bill is no longer required:
- From the Holds section, select the specific held bill to load it.
- Tap the Clear All icon near the cart to remove it.
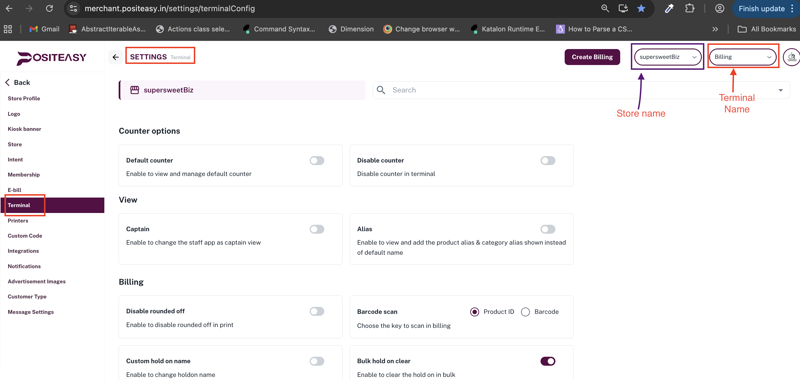
Step 4: Enable Custom Hold Name and Bulk Clear (Merchant App)
To use custom names or bulk clearing features, you must enable them first.
-
Open the Merchant App.
-
Go to Settings → Terminal.
-
Ensure the required terminal is selected.
-
Search for "hold".
-
Enable the following options:
- Custom hold on name
- Bulk hold on clear
Sync Staff App
After changing settings in the Merchant App:
- Open the Staff App.
- Perform a Sync to update the settings on your device. (Refer to Sync Staff App for details)
Using Custom Hold Name
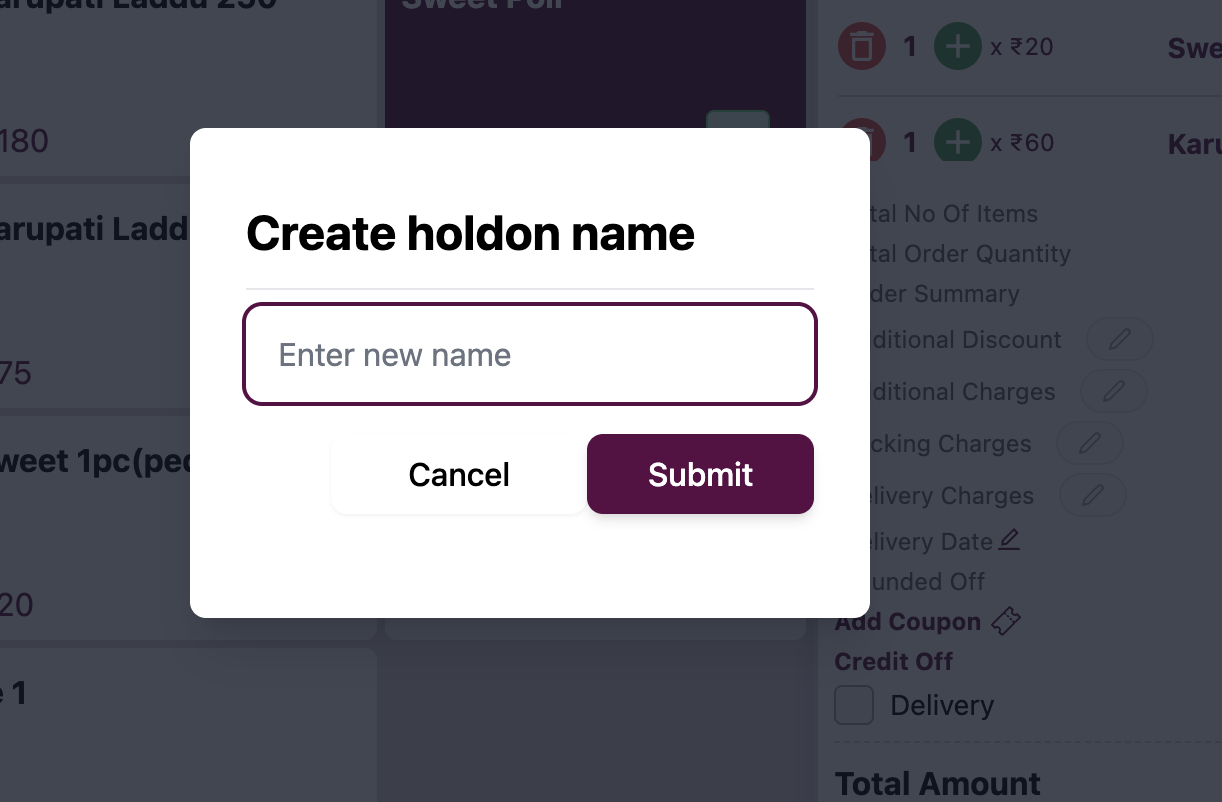
If the Custom Hold name feature is enabled (see Step 4):
- A Hold Name dialog will appear when trying to hold a bill.
- Enter a name (e.g., "Table 5" or "Customer John") to easily identify the bill later.
- Tap Submit.
Clear All Held Bills (Bulk Clear)
If you want to remove all held bills at once (requires Bulk Hold Clear enabled):
- Tap the Clear All
 button near the Holds section.
 - Confirm the action in the popup dialog.
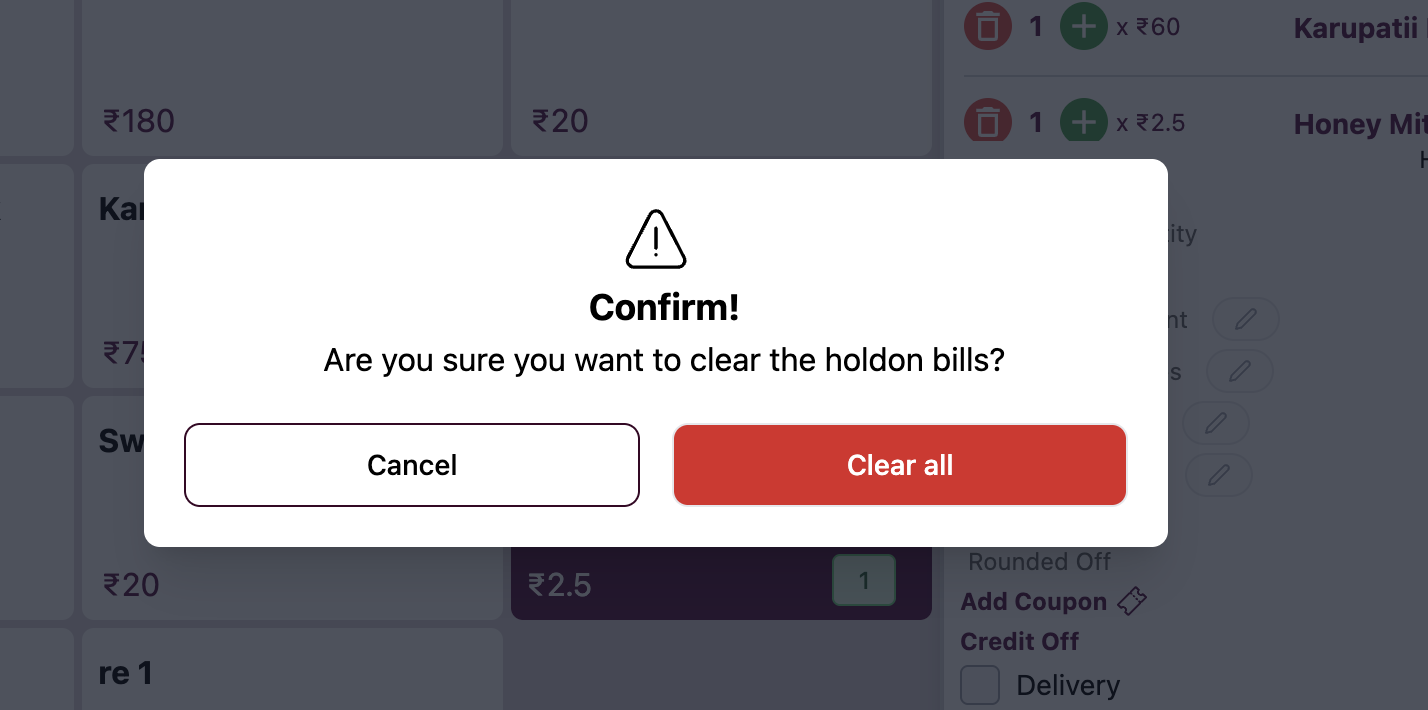
- All held bills will be deleted from the device.
Held bills are stored locally on the device. Clearing the app's data or resetting the device will remove all unsaved held bills.