Install a USB printer on Windows
Overview
This guide explains how to connect, install, and verify a USB receipt printer on a Windows PC, and then configure the printer in the POSITEASY Staff App.
Prerequisites
Before you start, ensure:
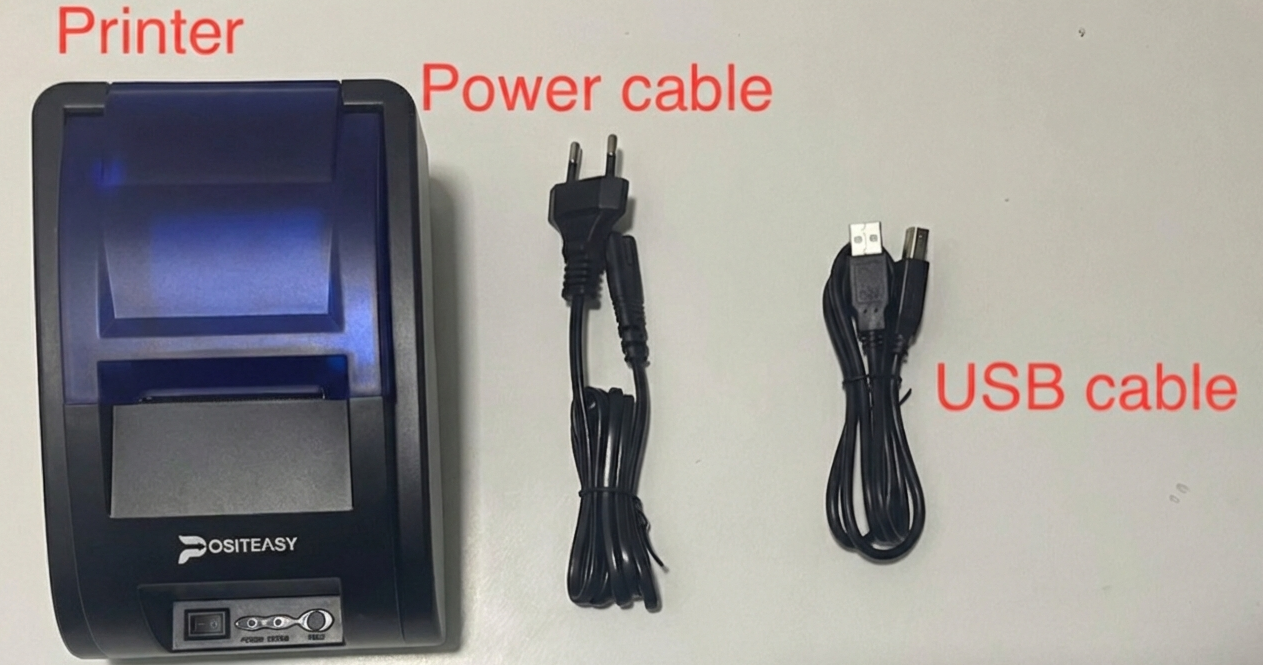
- You have the USB printer, its power cable, and a USB cable.
- You have access to a Windows PC with permission to install printer drivers.
- Positeasy Staff App is installed in the Windows PC.
- The PC is connected to the internet to download the driver.
To take a test print, turn off the printer. Press and hold the Feed button, then turn the power back on. Release the Feed button once the power or status light starts blinking. The test page will start printing automatically.
For some 3-inch printers, you can also take a test print by double-pressing the Feed button.
Step 1: Connect the hardware
-
Gather your equipment (printer, power cable, and USB cable).
-
Connect the power cable to the printer, plug it into an outlet, and turn on the printer.
-
Connect the printer to your Windows PC using the USB cable.
Step 2: Download the printer driver
-
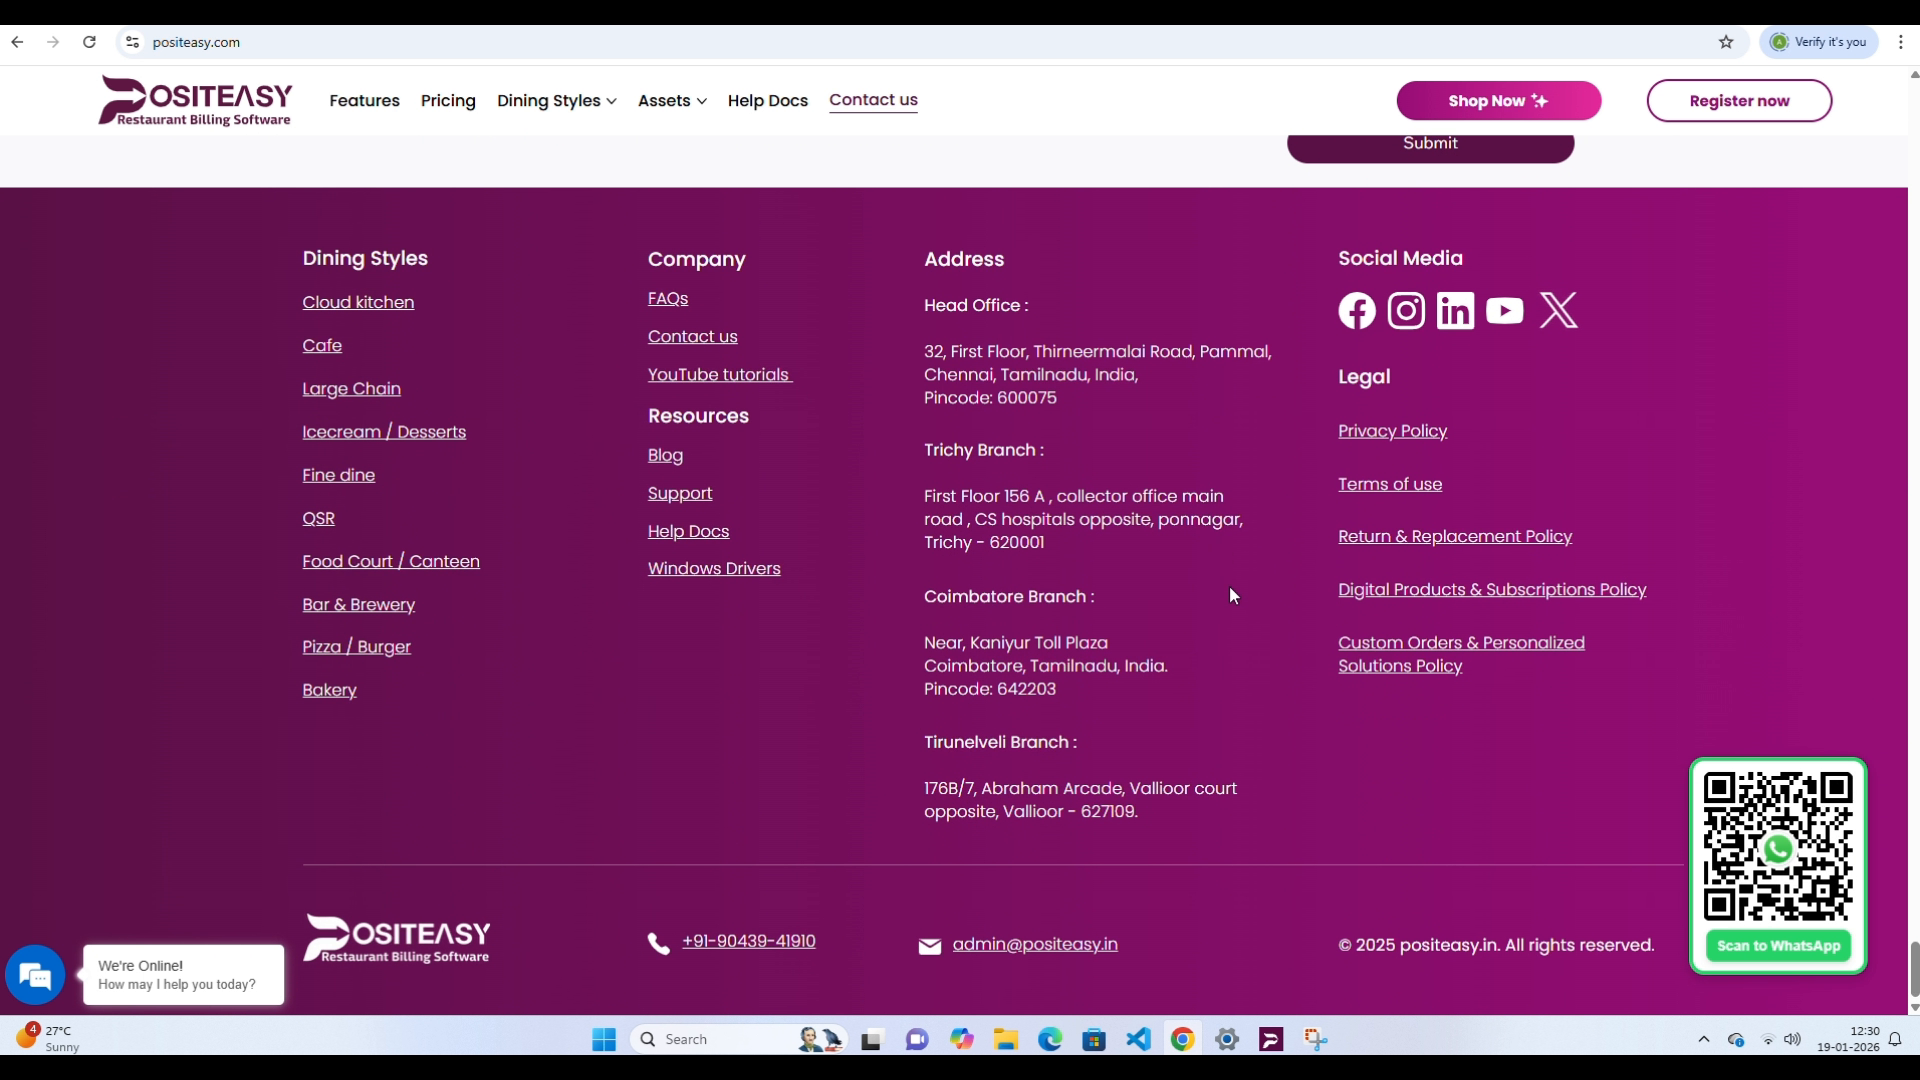
Open a web browser and go to the POSITEASY website (www.positeasy.com).
-
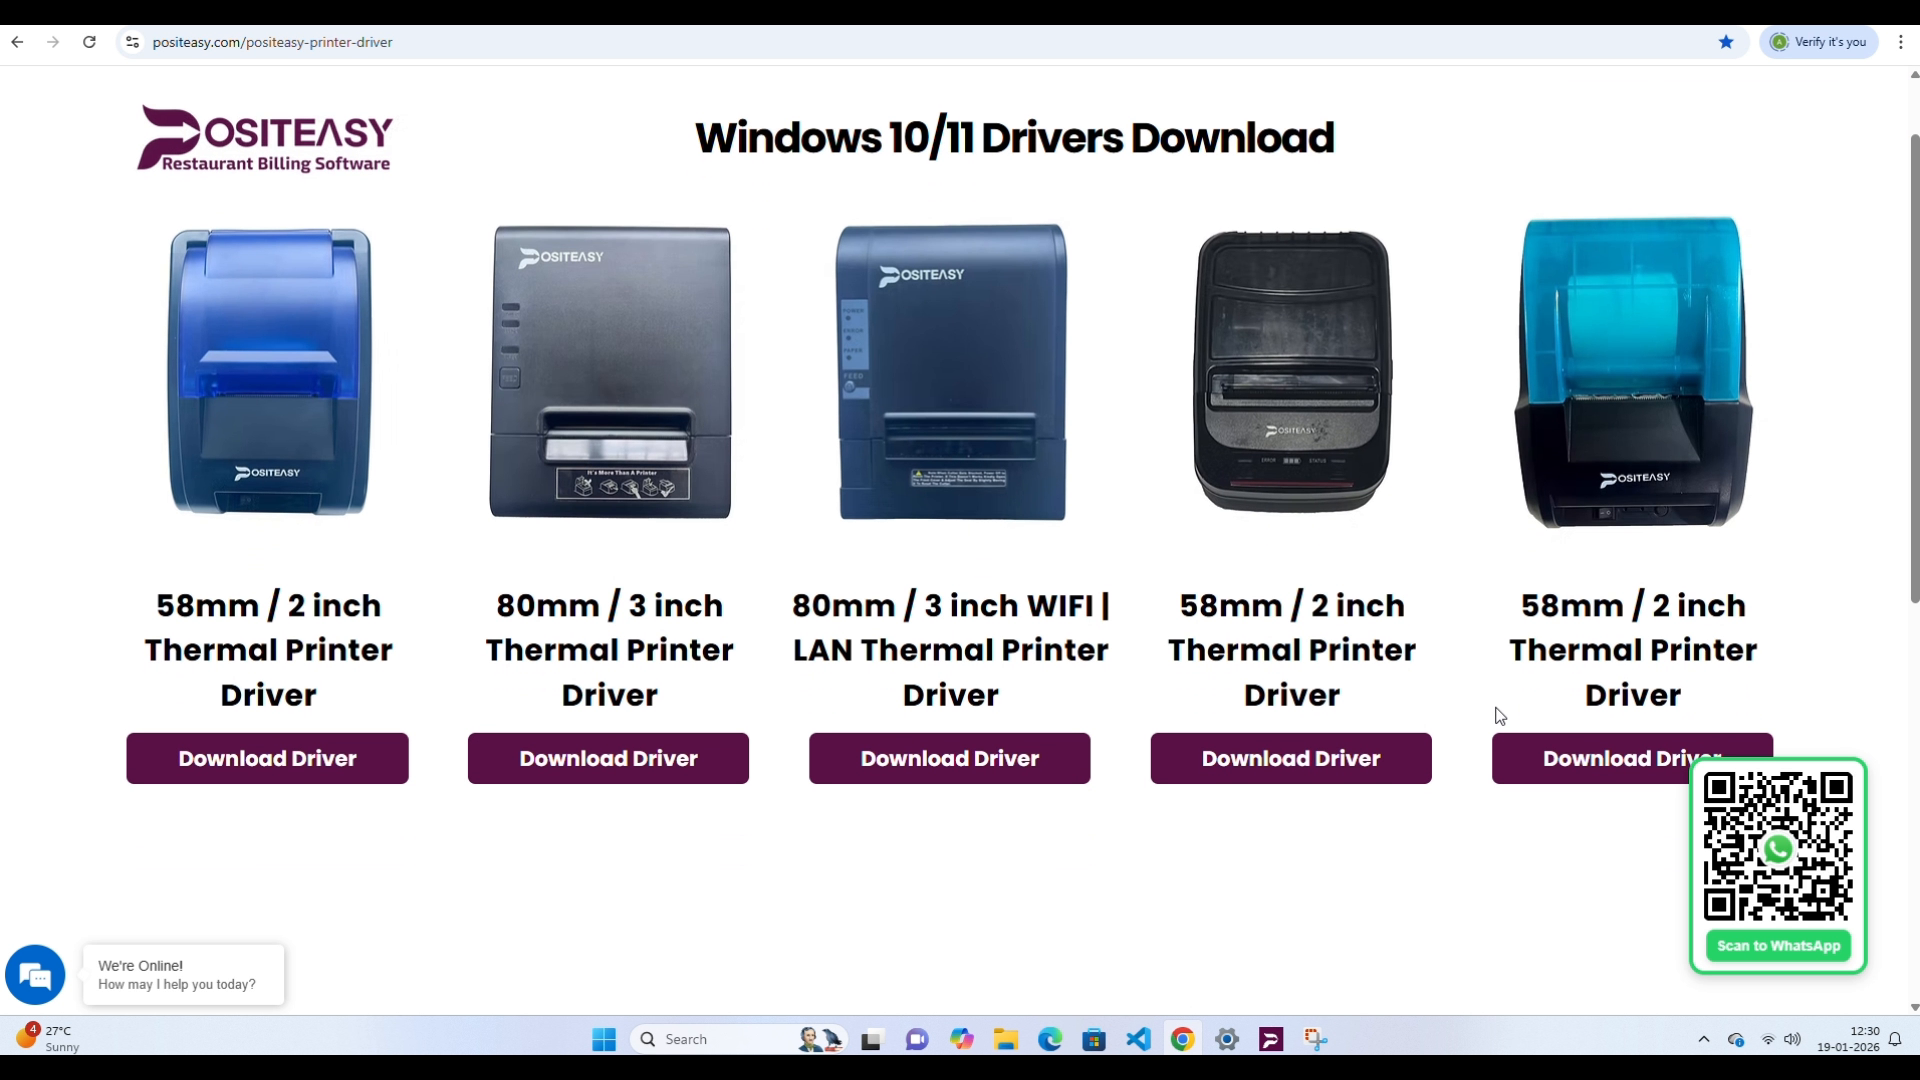
Scroll to the bottom of the page. Under Resources, select Windows Drivers.
-
Find your printer model, and then select Download Driver.
Step 3: Install the printer driver
-
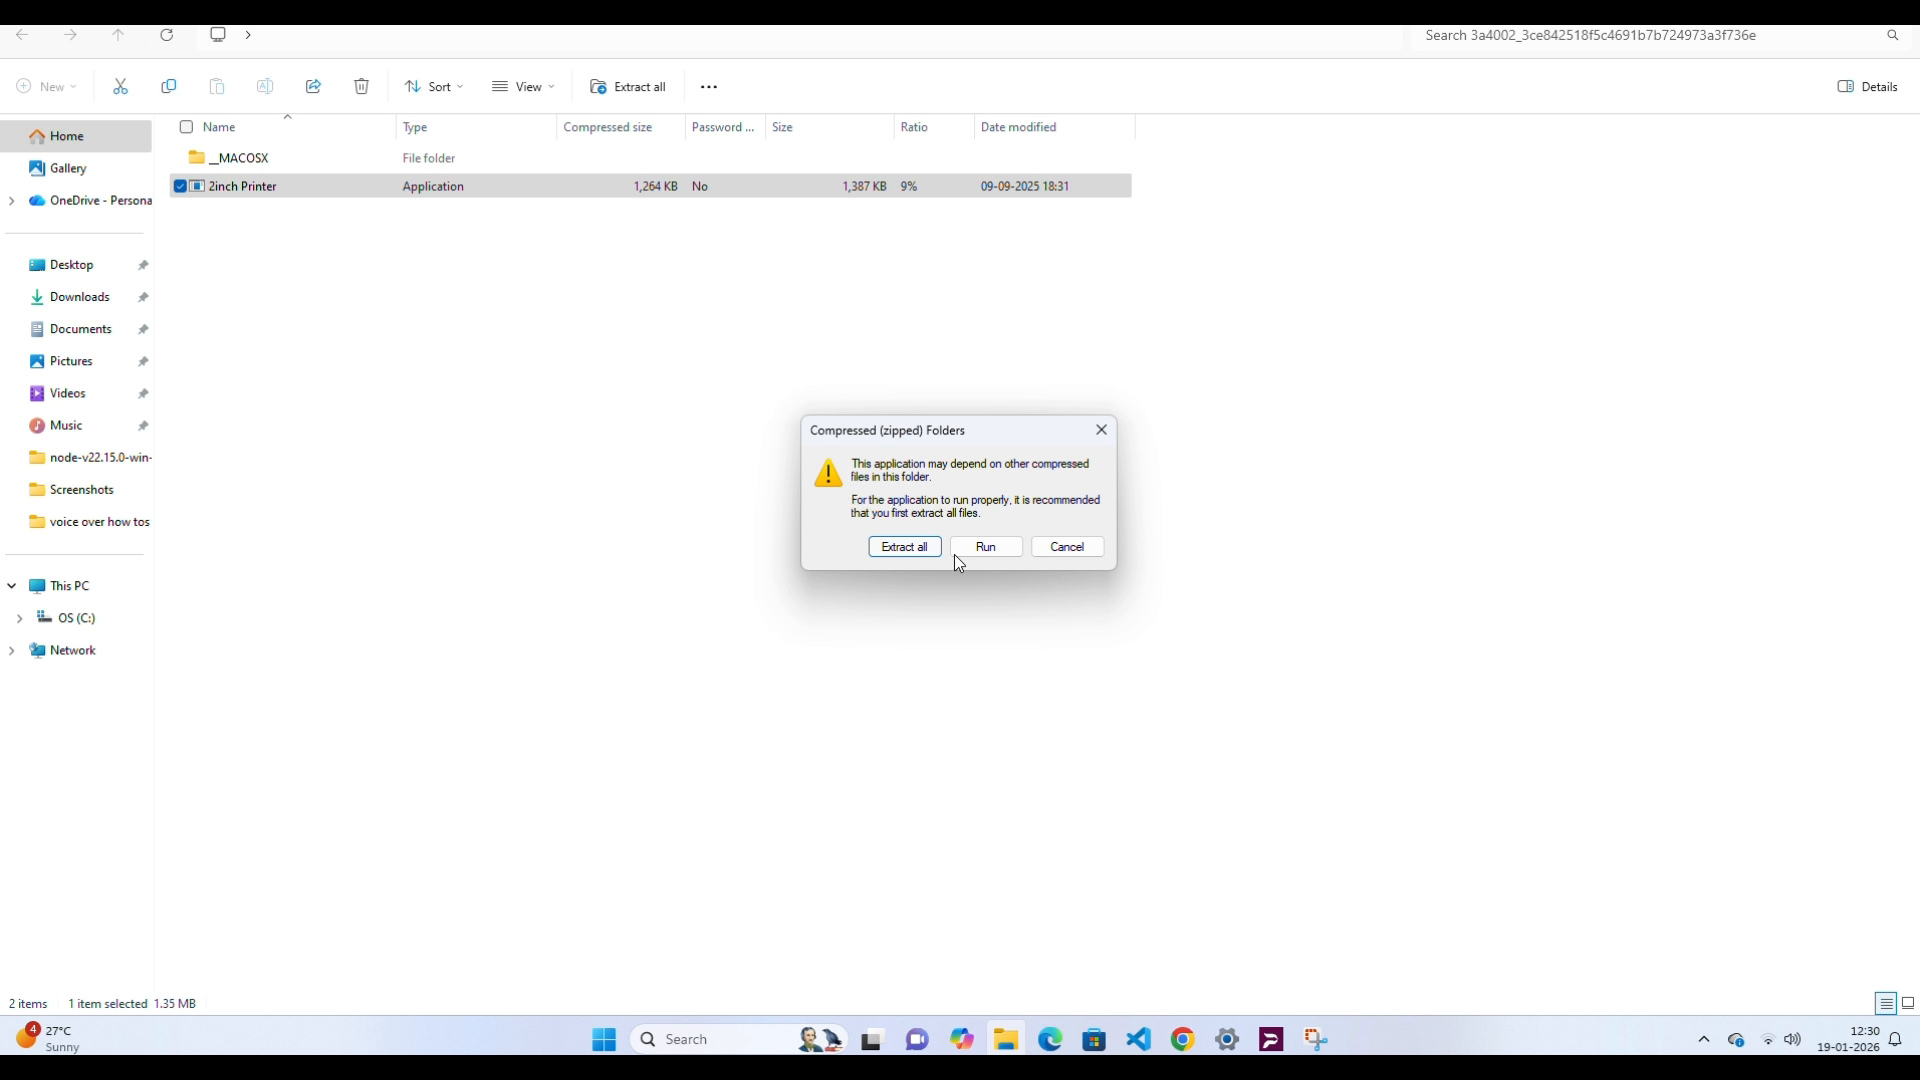
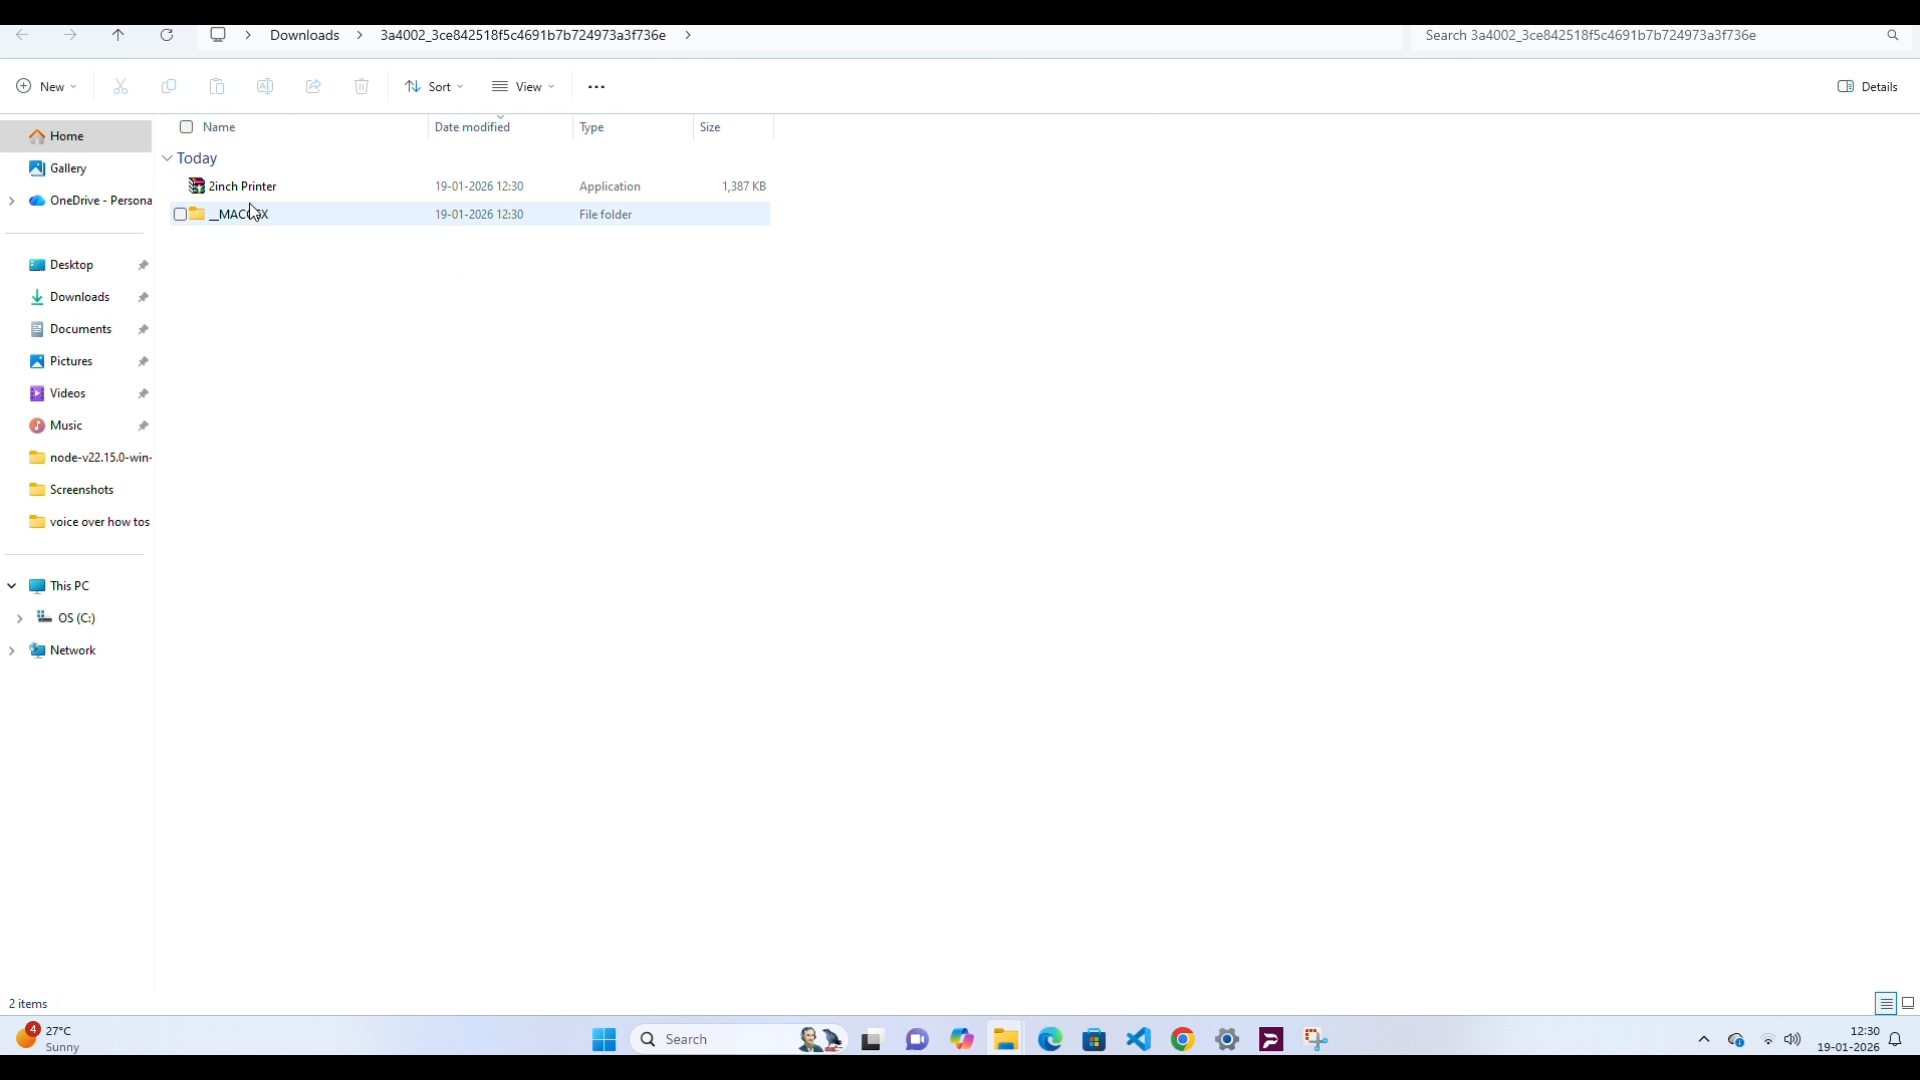
In File Explorer, open your Downloads folder, locate the downloaded .zip file, and then extract it.
-
Open the extracted folder, and then double-click the printer setup application.
-
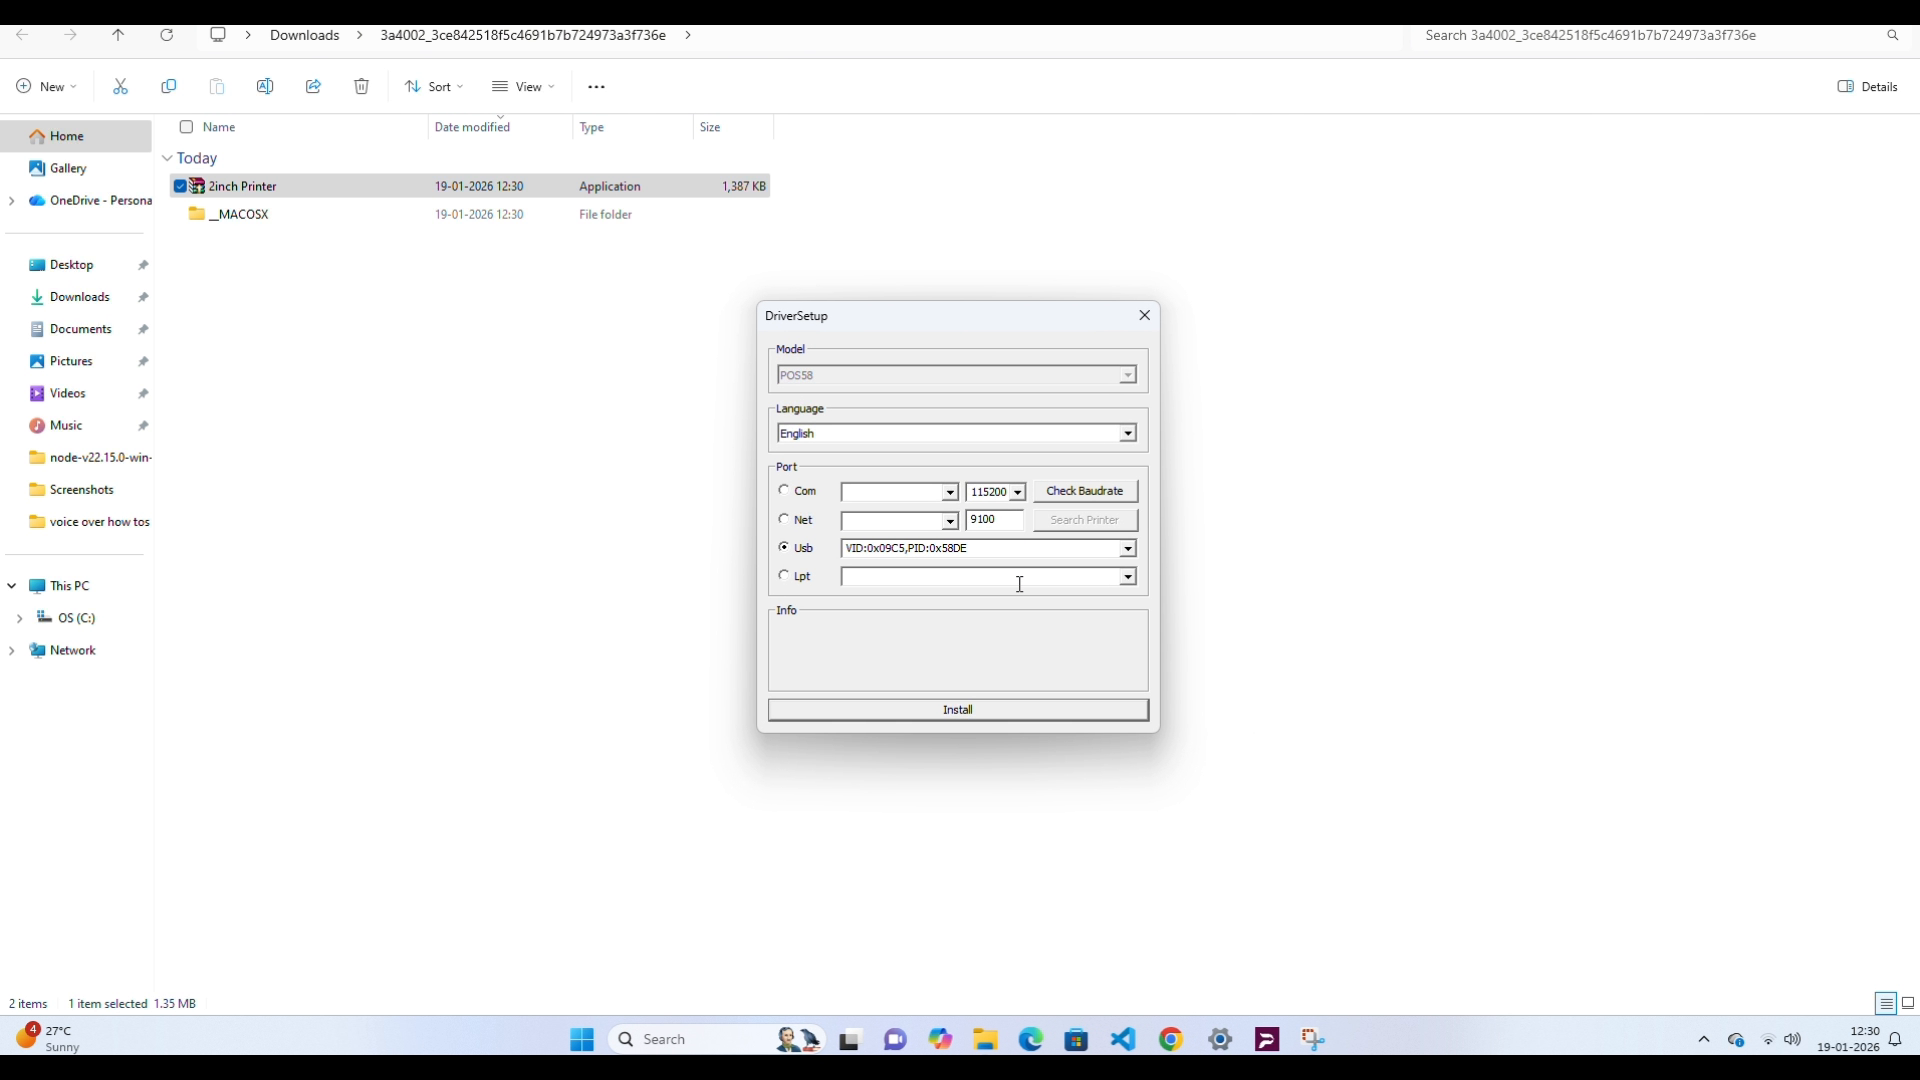
In the Driver Setup window, select Install, and then follow the prompts.
-
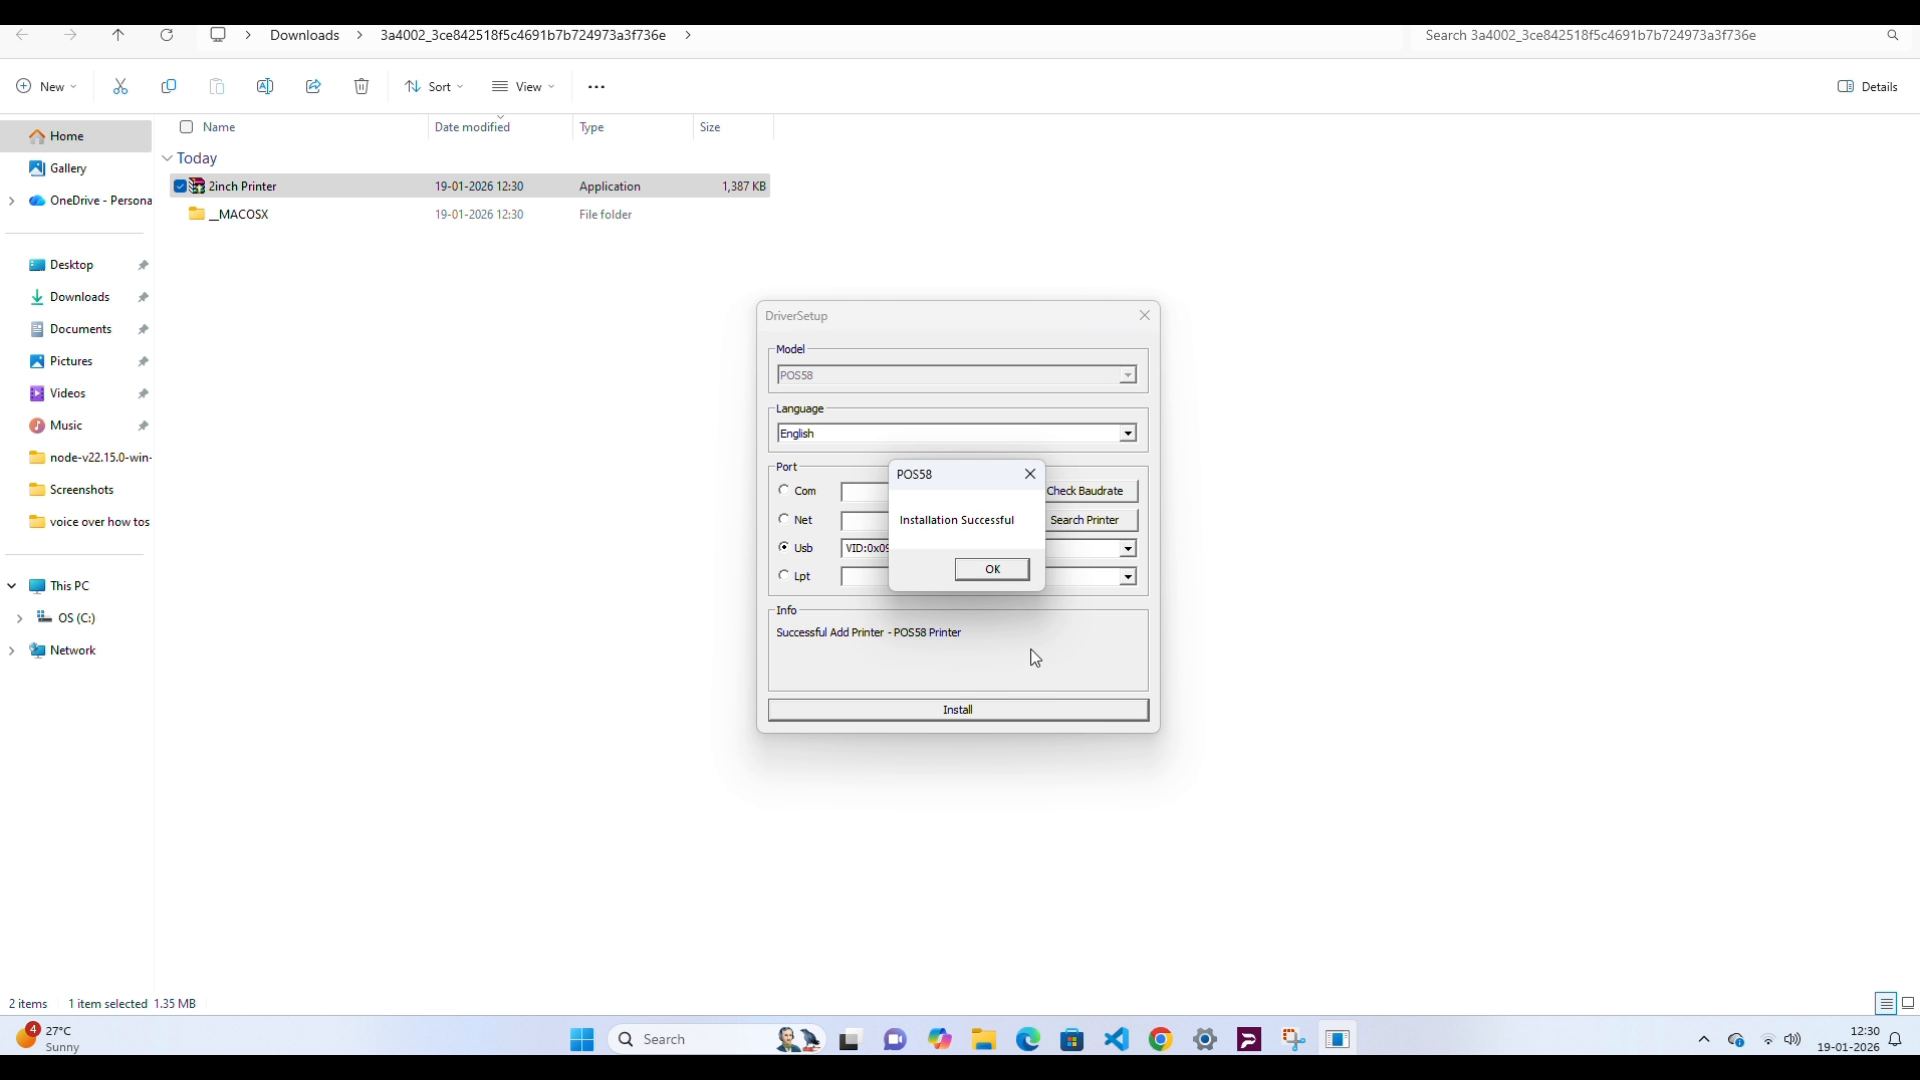
When you see the success message, select OK.
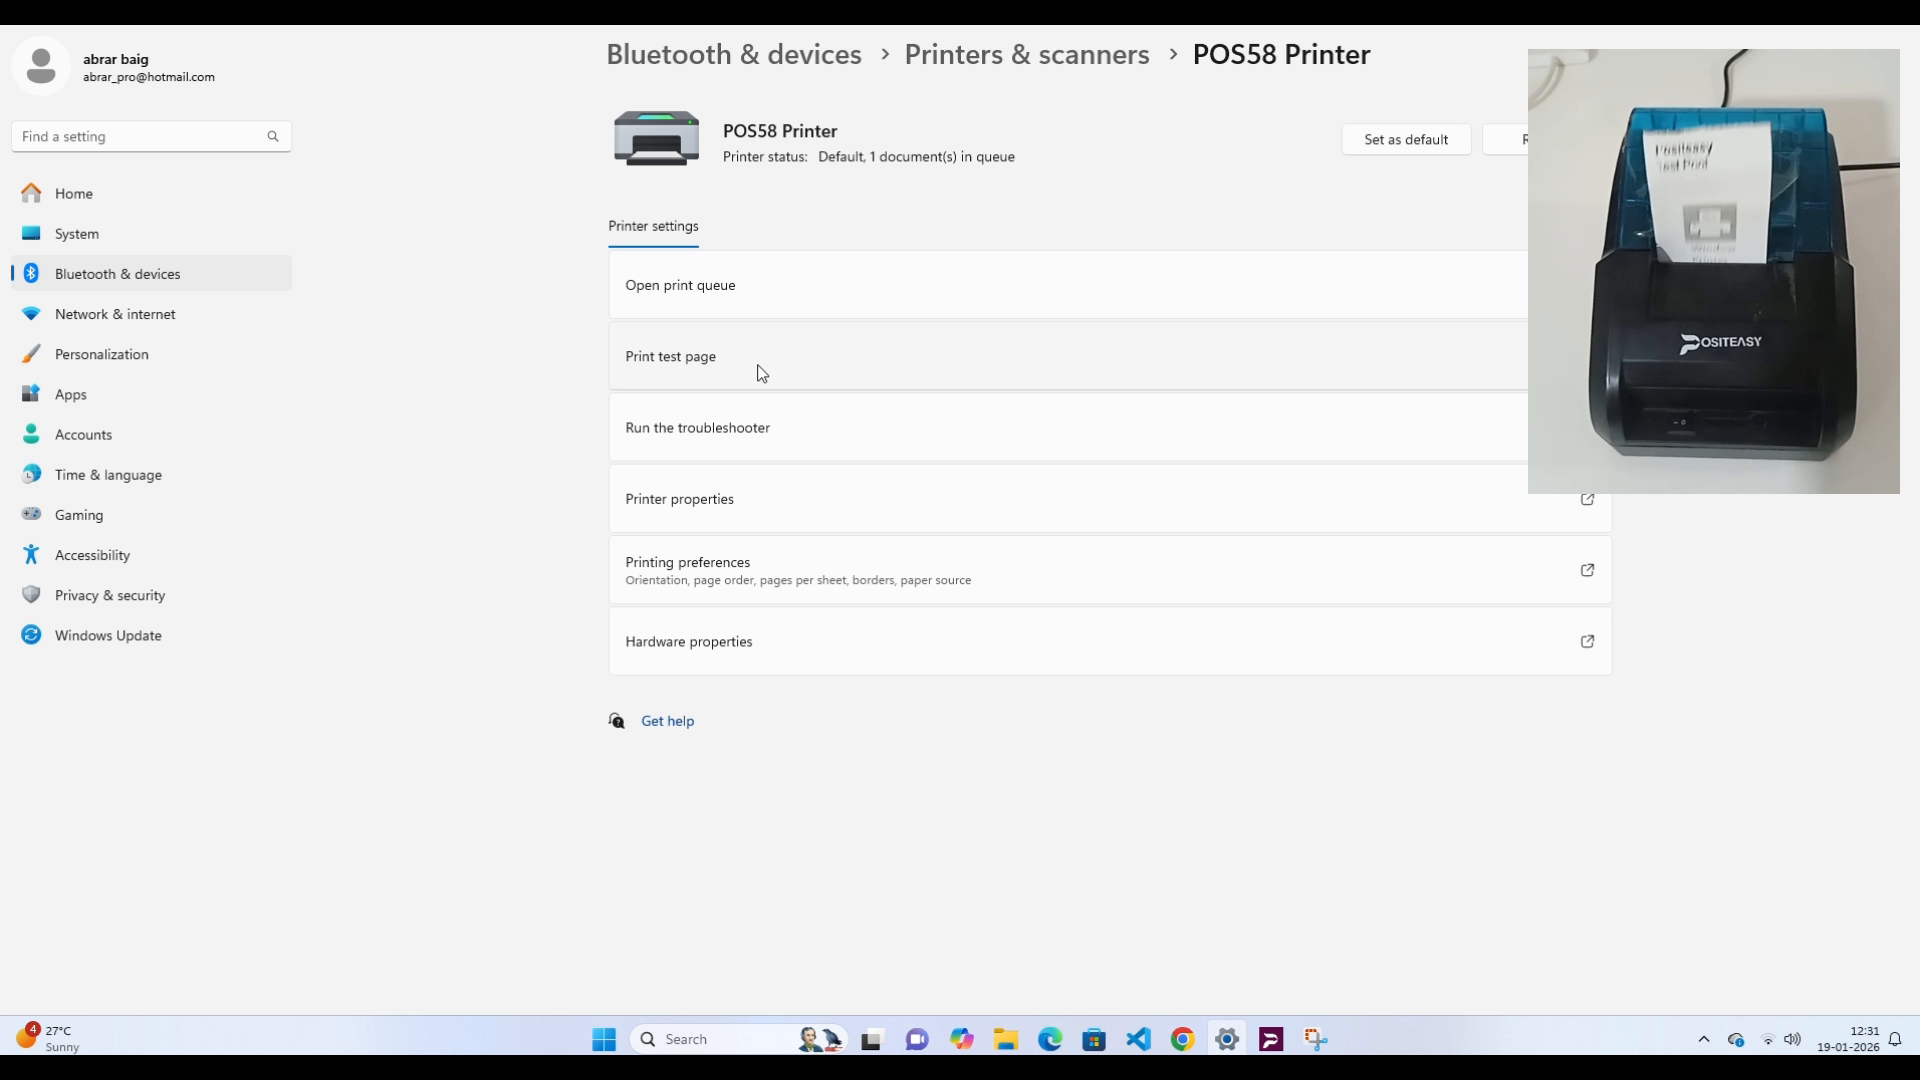
Step 4: Verify the installation
-
Open Windows Settings.
-
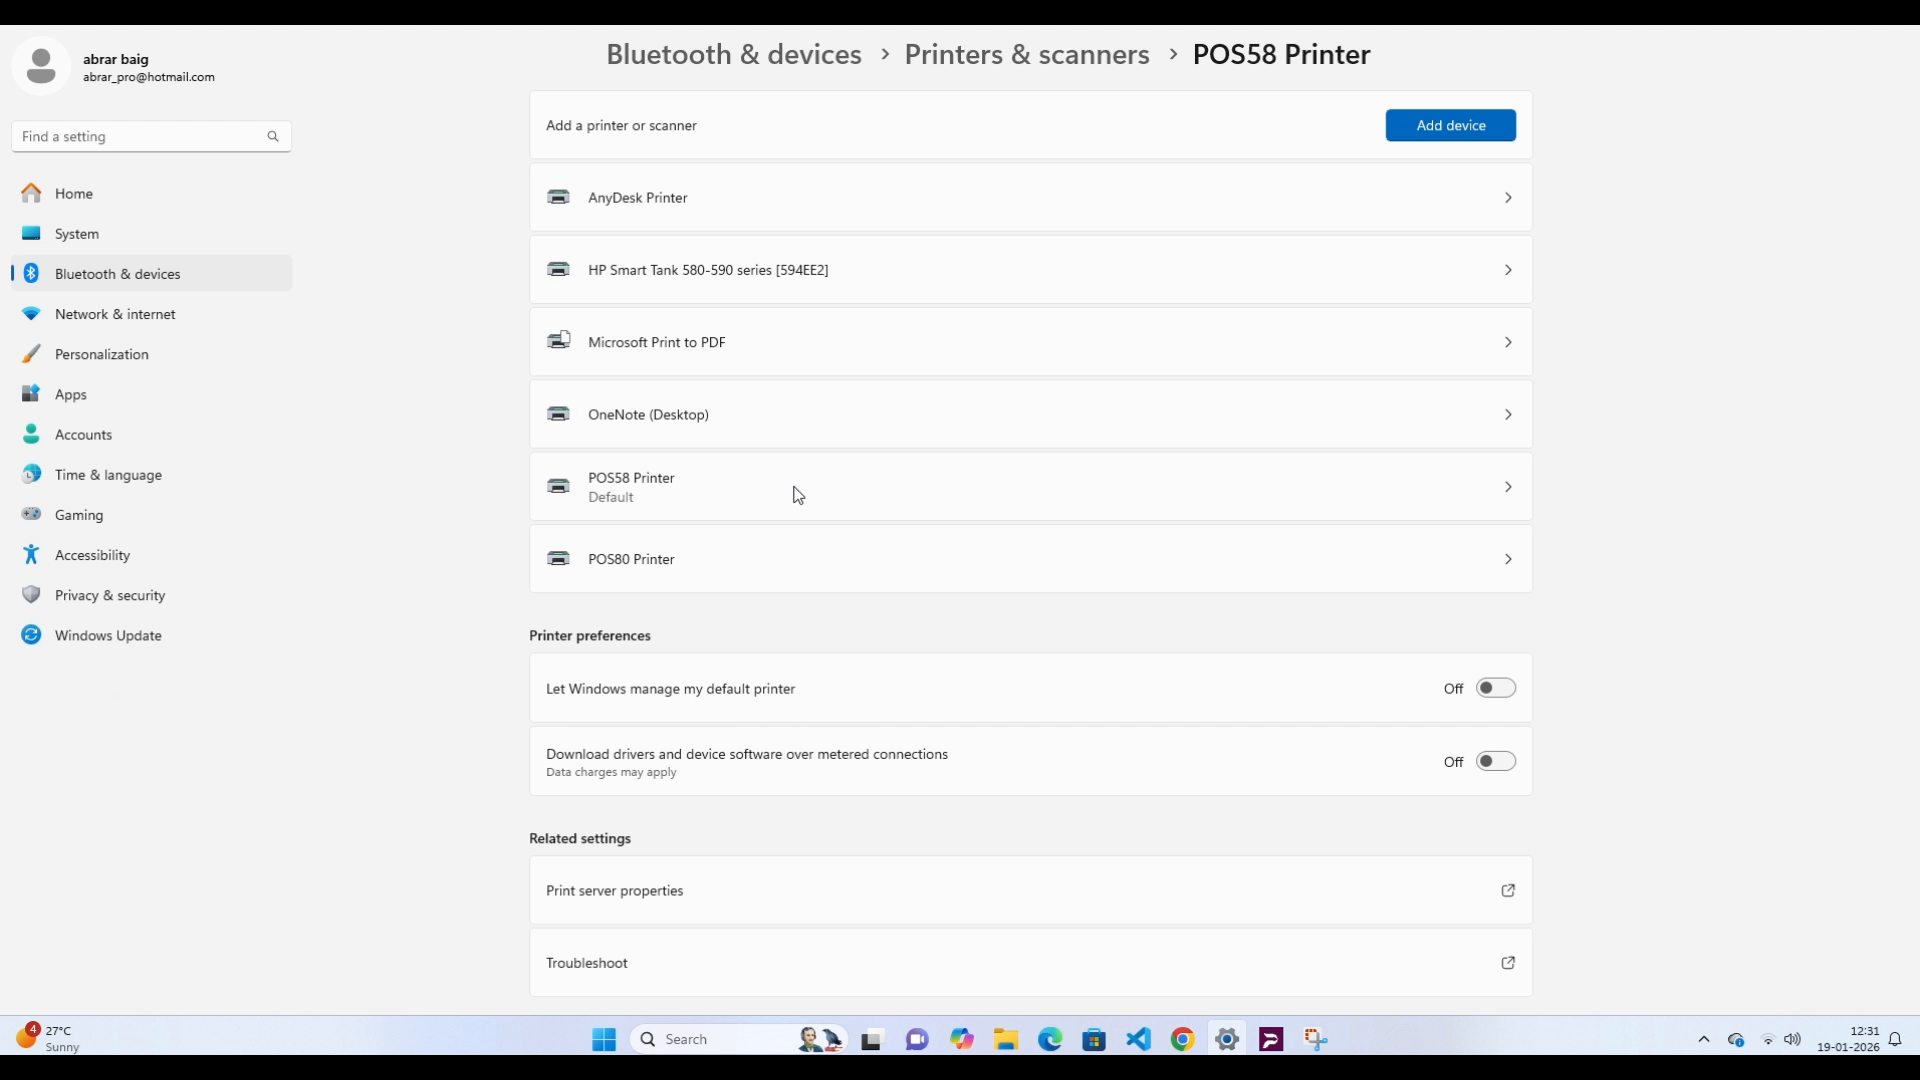
Go to Bluetooth & devices > Printers & scanners.
-
Select your newly installed printer (for example, POS58 Printer), and then select Print test page.
-
Confirm that the printer prints a test receipt.
Step 5: Configure the printer in the POSITEASY Staff App
Refer Setup Printer for staff app.